Mark and I took a trip out to visit the folks at Cool Neon. After lots of product demonstrations and price lists and maybe an hour of talking about designs, I believe we have settled on a staged approach to lighting our upper floor.
Step 1) Light the rings with Total Control Lighting (TCL) LED’s and control them via USB through a single Mac Mini running in the cab or a storage unit under the first floor deck. We need to calculate the total perimeter in inches of all three rings. The TCL lights are 4 inches apart so we simply divide by 4 to get an estimate of the total number of LEDs we will purchase. The strips all terminate into USB connections to the mini. All programming is handled by the mini.
Note: We can take all computer programming out of the equation by simply using the “Gateway” or “Elite” controllers. If we run out of time this will be our fallback.
Step 2) Create a ‘video screen’ using TCL along the wall of the stairs. This sheet of light will cost approximately $500 and will be built if we raise enough money for it.
Step 3) Create a ‘video screen’ on the top floor instead of the actual movie screen we are planning now. This 12′ elliptical screen will cost about $2,000 and will be built if we raise enough money for it.
—-
Jake on the second floor 🙂
—-
While we were busy with lights, Buck was off in SketchUp land. Below are few pix of his latest designs.
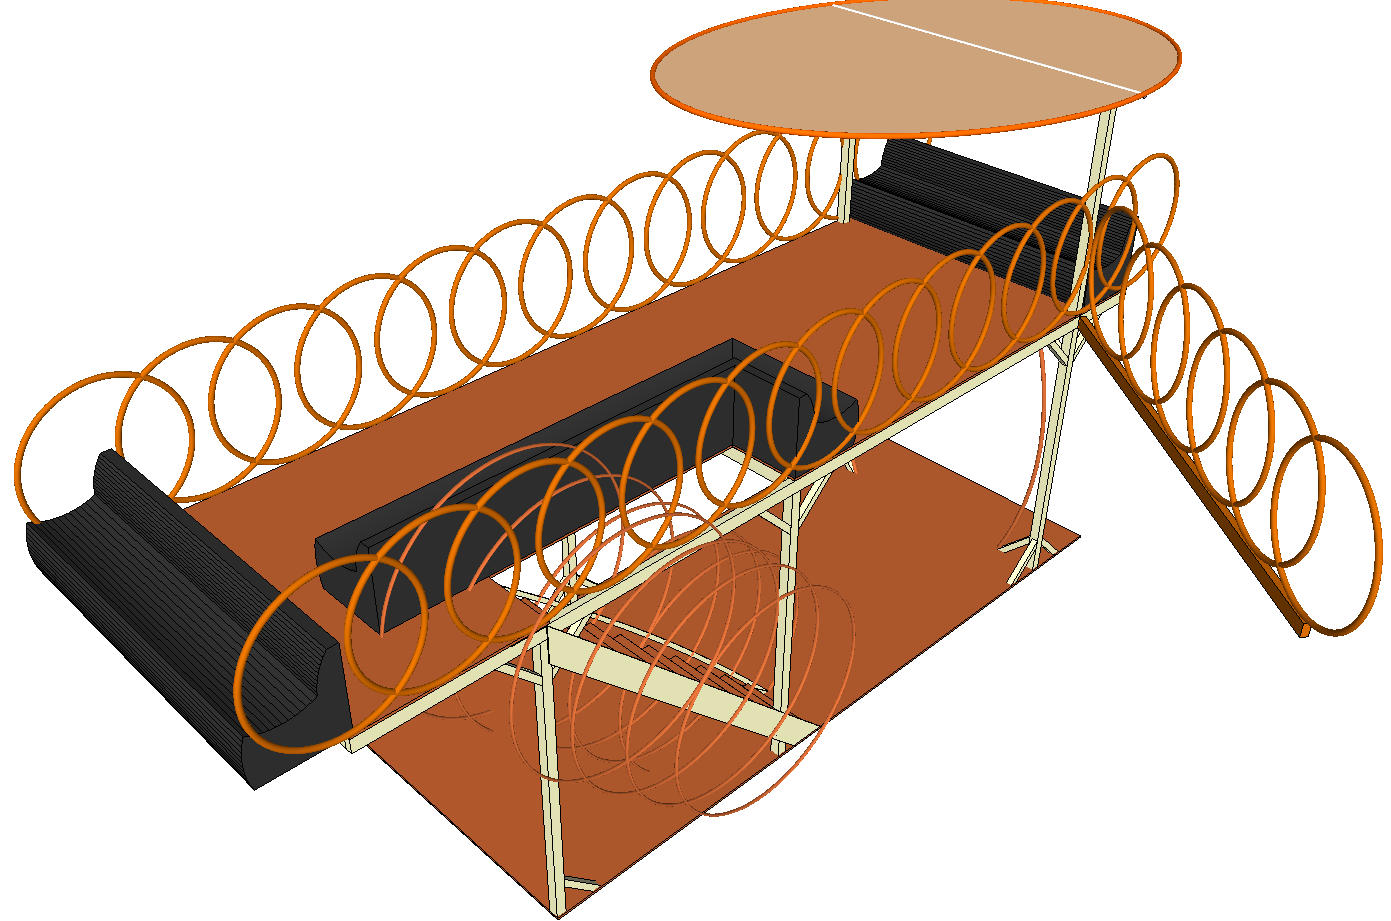
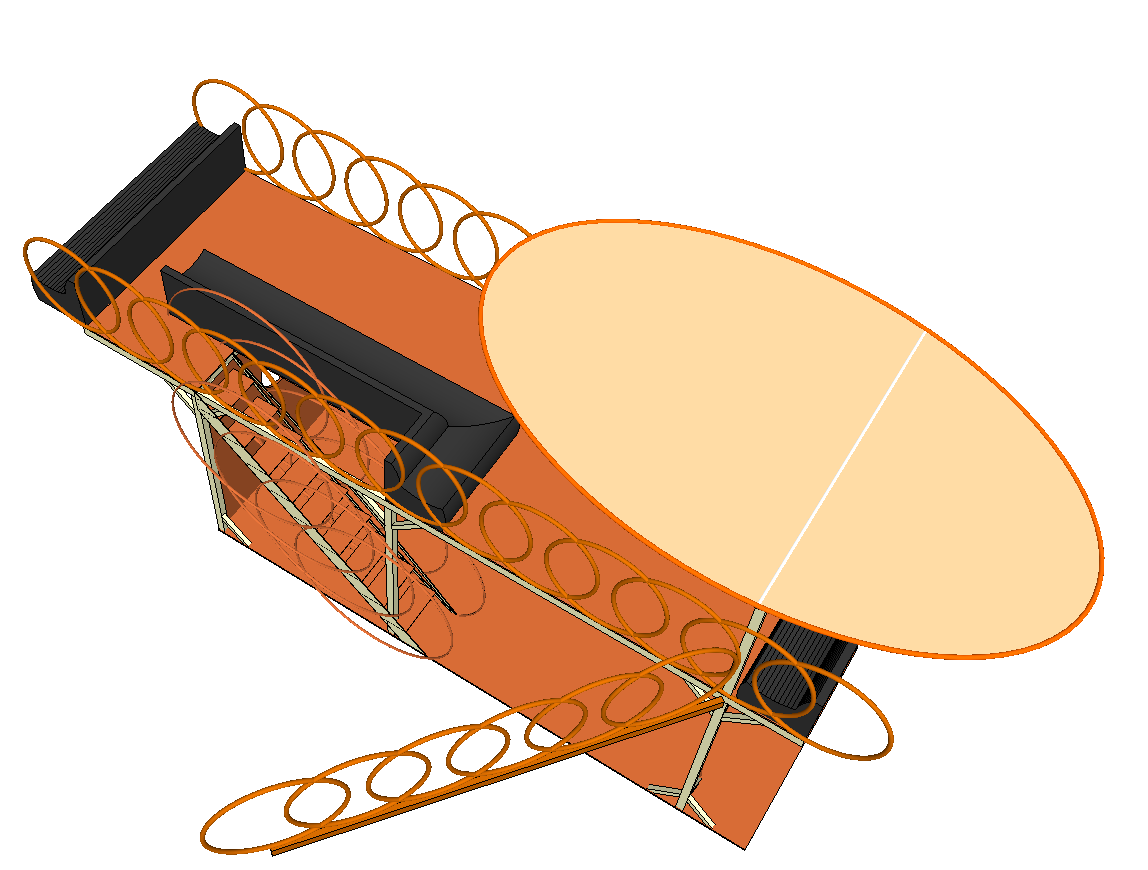
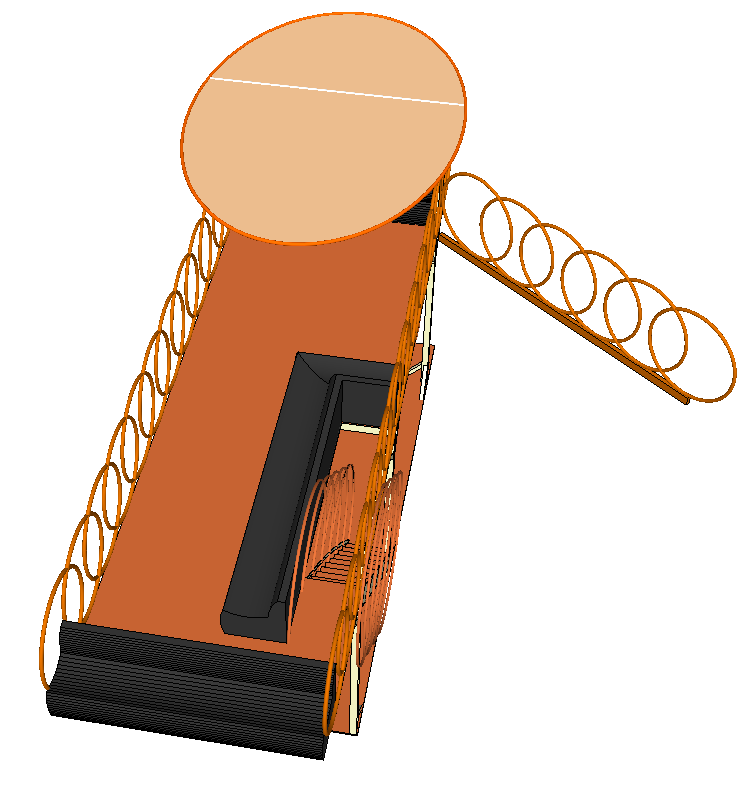
—-
Because I can’t sleep and I have not been able to explain this…
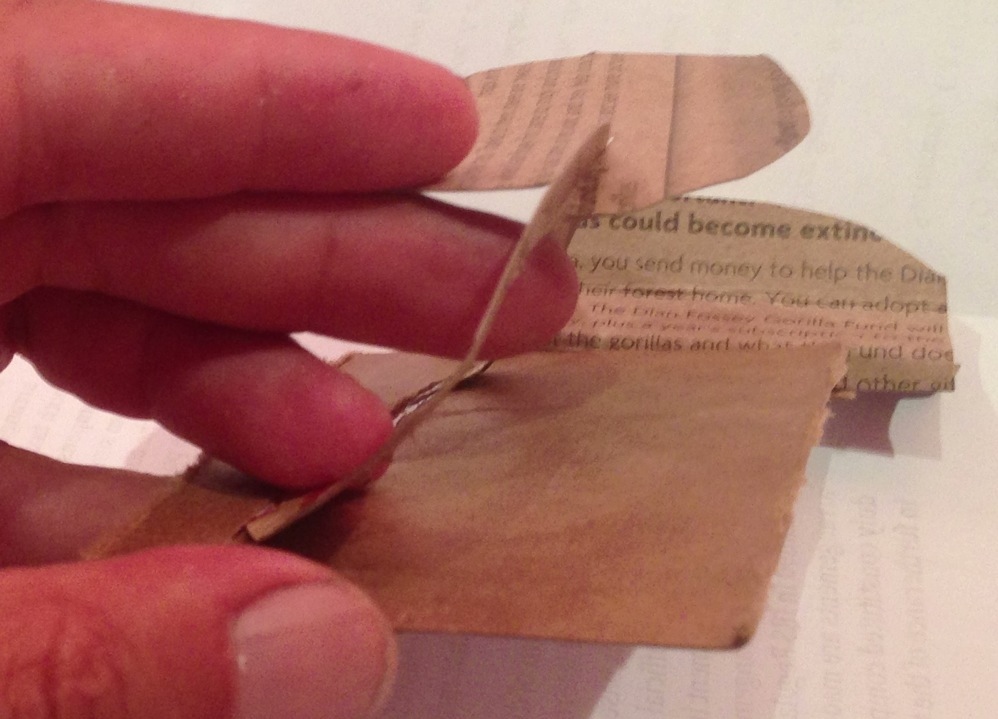
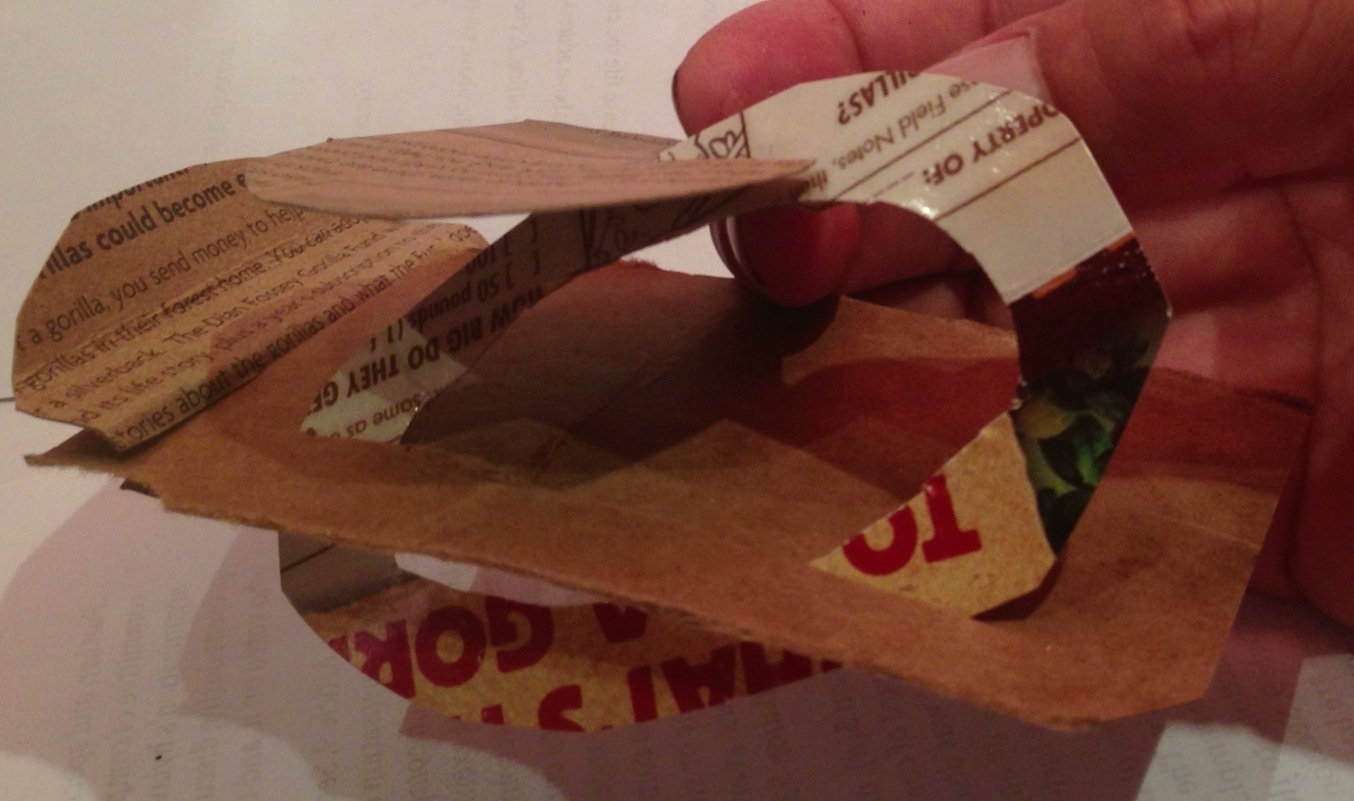
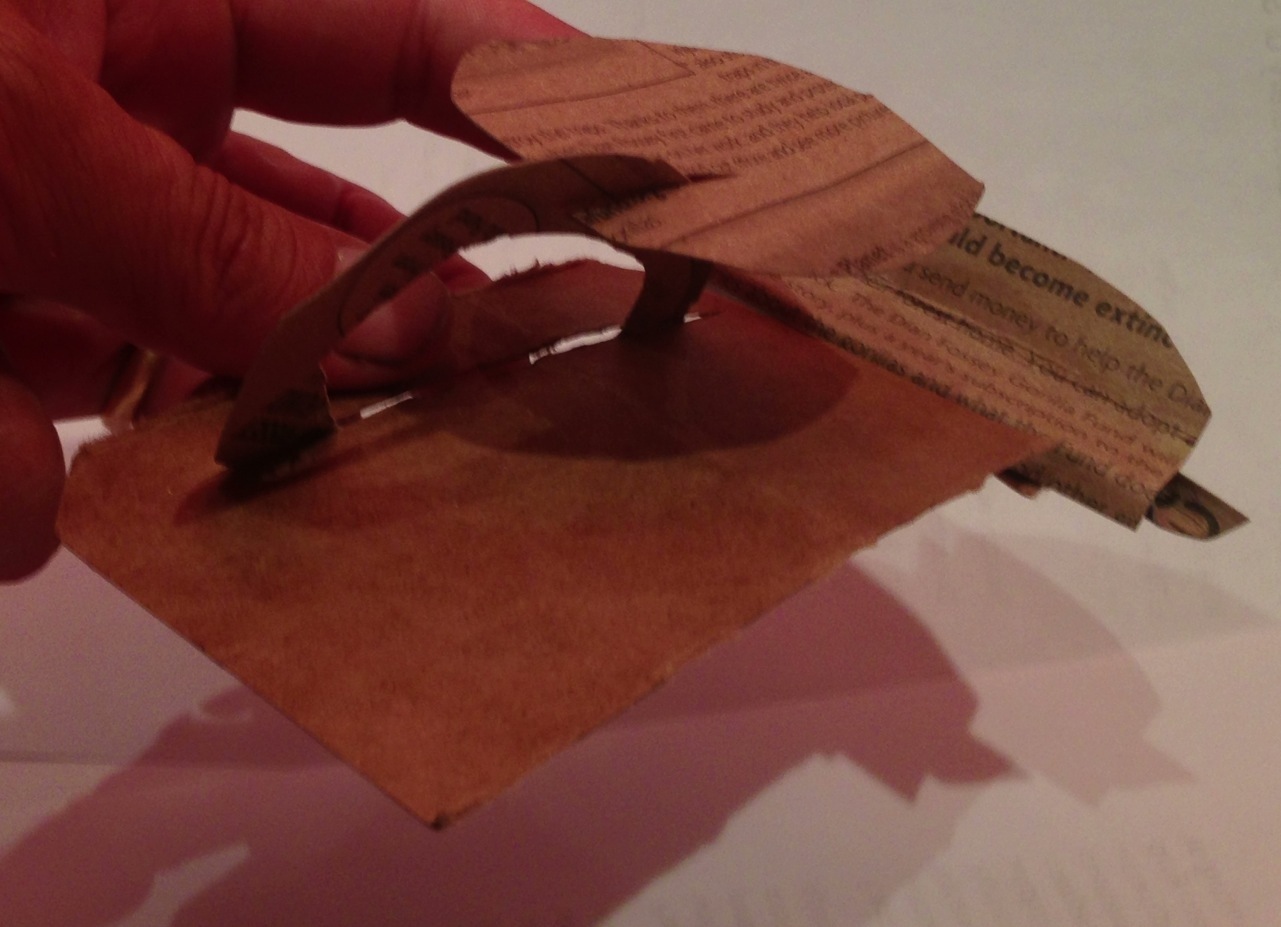
Here are three photos that show what I want for two of the rings.
1) Horisontal (in-plane) ring
This ring will be the only movie screen. It may be a 10-12′ oval but it also could be a perfect circle. This will function as a shade structure during the day and will be horizontal to (in the same plane as) the top deck. When we park at night we will raise it up almost to vertical and display video on it.
2) Skewed (off-plane) ring
This ring will be larger than the other and will cut the deck plane. This ring does NOT have to continue below the top deck however it should be wide enough to at least reach the the drivers side (in these pictures it is too small). The idea is to show that elements are in their own plane.
3) Rear throne
The rear throne is displayed simply for placement in order to see its relative position to the two main rings. The rear throne is not to scale.
4) Central post
The central post is not displayed but will be used to a) ensure the in-plane ring is horizontal and secure during the day and b) house the video projector.